
How to Properly Use Tile Spacers?
Planning a tile installation? Whether you’re a seasoned contractor or a dedicated DIYer, mastering the use of tile spacers is a non-negotiable step for achieving a flawless, professional-grade finish. These small, simple tools are the unsung heroes that ensure perfect alignment, consistent grout lines, and a final result that looks like it was done by an expert.
This guide will walk you through everything you need to know about selecting and using tile spacers correctly, transforming your tiling project from good to exceptional.
The Role of Tile Spacers: Why They're Essential
Tile spacers are small, precision-made tools placed between tiles during installation. Their core functions are:
Ensure Uniform Grout Joints: They create consistent, visually pleasing gaps for grout.
Maintain Perfect Alignment: They prevent tiles from sliding into each other before the adhesive sets, keeping rows straight and corners sharp.
Compensate for Tile Imperfections: Even high-quality tiles can have slight size variations. Spacers help absorb these minor discrepancies for an overall even layout.
Skipping spacers often leads to uneven lines, lippage (tile edges at different heights), and a sloppy appearance that detracts from your beautiful tiles.

Step 1: Choosing the Right Tile Spacer
Selecting the correct spacer is your first critical decision.
By Size (Width):
1.5mm – 3mm: Creates a tight, minimalist joint. Ideal for rectified porcelain tiles where a seamless “book-matched” look is desired.
3mm – 6mm: The most common and versatile range. Suitable for most ceramic, porcelain, and natural stone tiles. Provides a good balance of aesthetics and practicality for grouting.
8mm+: Typically used for rustic stone, handmade tiles, or specific design styles where the grout line itself is a decorative feature.
By Shape & Type:
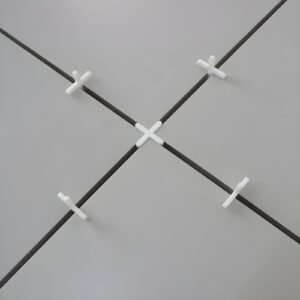
Cross/Plus Spacers (+): Placed at the intersection where four tile corners meet. The most common type for grid patterns.
T-Shaped & L-Shaped Spacers: Ideal for running bond (brick) patterns or wall/floor transitions.
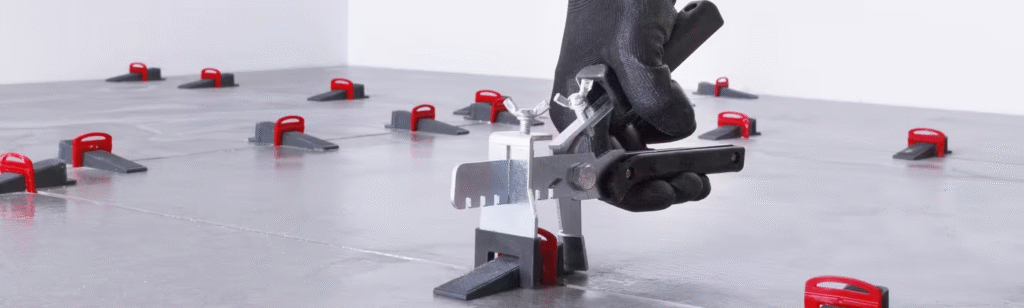
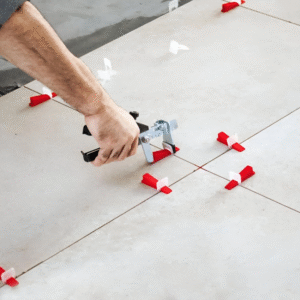
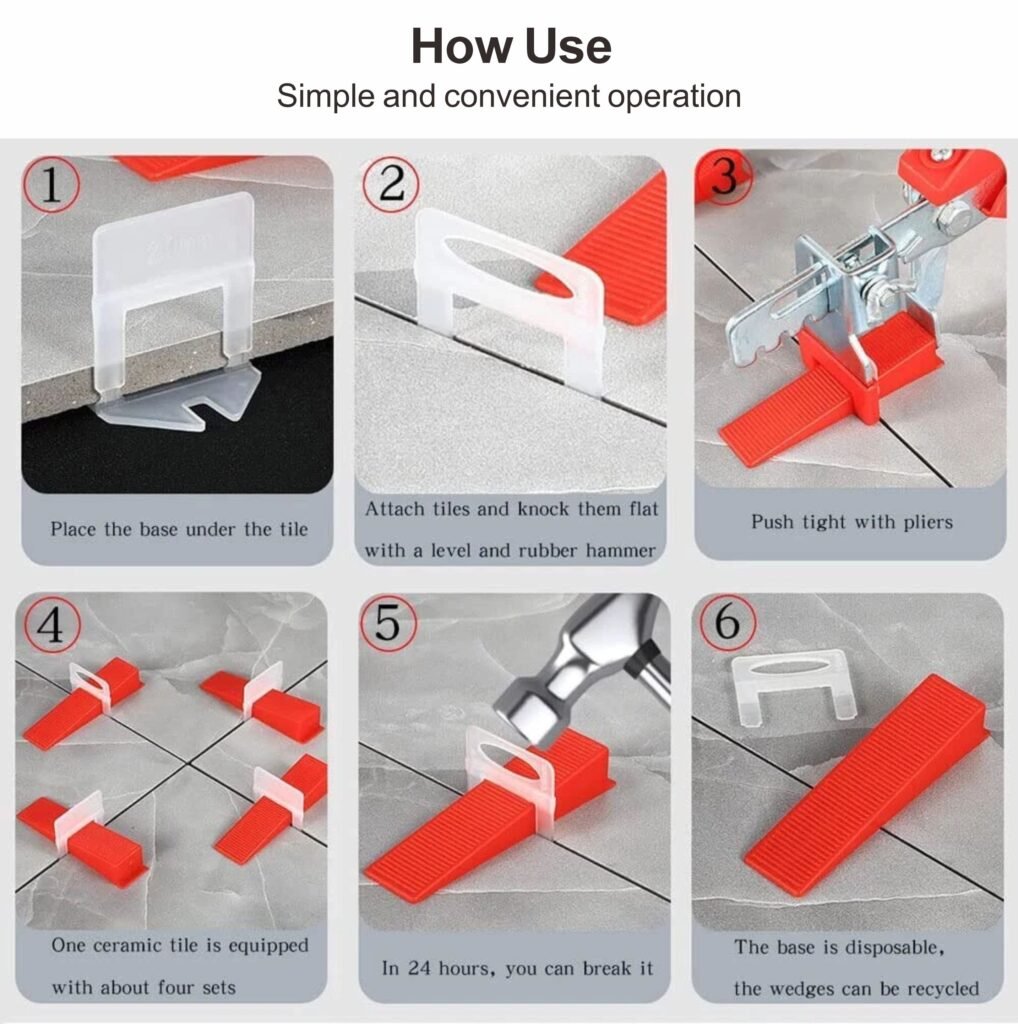
Wedge Spacers: Often part of a leveling system. Used in conjunction with clips to pull tiles perfectly level while spacing them.
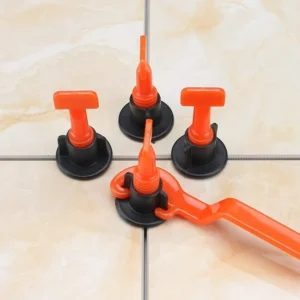
Spacer Strips/Leveling System Combos: Modern systems integrate spacing with lippage control, offering unmatched precision for large-format tiles.

Step 2: Installation - The Step-by-Step Process
Prepare the Surface: Ensure your substrate (wall or floor) is clean, flat, dry, and properly primed if needed.
Apply Adhesive: Using a notched trowel held at a 45-degree angle, spread a consistent bed of thin-set mortar or adhesive.
Set the First Tile: Firmly press your starter tile into place, giving it a slight twist to ensure full adhesive coverage.
Insert Spacers: Place spacers at each corner of the tile (where it will meet adjacent tiles). For cross spacers, stand them upright at the tile’s corner points.
Place Adjacent Tiles: Set the next tile, snugging its edges against the spacers already in place. Insert additional spacers on the new tile’s exposed sides.
Check Alignment: Use a spirit level frequently to ensure tiles are flat and rows are straight. Adjust before the adhesive skins over.
Continue the Pattern: Repeat the process, working in small, manageable sections.
Step 3: Removal & Grouting - The Final Touch
Timing is Everything: Remove spacers once the adhesive has set enough to hold the tiles firmly but is not fully rock-hard. This is typically 24-48 hours later, but refer to your adhesive instructions. Removing them too early can cause shifting; too late makes extraction difficult.
Gentle Removal: Use your fingers or needle-nose pliers to gently pull spacers straight out. Avoid twisting or prying that could disturb the tiles.
Proceed to Grouting: Once all spacers are removed and joints are clear, you can begin grouting. Use a rubber float to force grout into the clean, uniform gaps you’ve created.
Pro Tips for a Flawless Finish
Don’t Grout Over Spacers: This is a critical mistake. Spacers left under grout will create weak points and eventually lead to cracks. Always remove them.
Use a Leveling System for Large Tiles: For tiles larger than 12″x12″ (30x30cm), strongly consider a tile leveling system (like clips and wedges). It simultaneously spaces tiles and eliminates lippage, which standard spacers alone cannot do.
Account for Cuts: Spacers must also be used around cut tiles at the edges of your layout to maintain consistent joint lines.
Buy Extras: Always purchase 10-15% more spacers than you calculate. They are inexpensive, and having extras prevents work stoppages.


Conclusion
Proper use of tile spacers is a simple yet profoundly effective practice. It elevates the structural integrity, visual harmony, and longevity of your tile installation. By investing time in this fundamental step, you guarantee a result that showcases the quality of your tiles and the care put into the installation.
For contractors and serious DIYers seeking professional-grade results, pairing quality tile spacers with premium materials is key. At RONGYI, we not only provide expert advice but also supply the precision tools and accessories needed for a perfect installation every time.