
How To Trim A Tile Corner?-Guide To Fitting Tile Trim
Simply follow our three step process for installing and cutting Tile Trim to size.
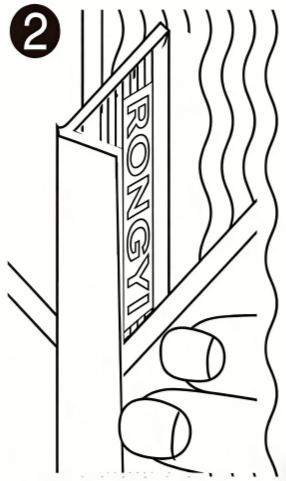
STEP 1 – MEASURE & CUT

Mark the precise location on your trim where the cut will be made.
Use a hacksaw fitted with a fresh blade to cut the trim to the required size. Ensure you cut at a perfect 90° angle to achieve the precise length. Alternatively, you can use an angle grinder with a metal cutting blade or, for PVC trim, a dedicated trim cutting tool.
For DIY enthusiasts, we suggest using a mitre box to easily cut the trim to the correct size, as it features pre-set angles that make cutting straightforward. Always hold the trim securely against the mitre box to guarantee a clean, accurate cut.
After cutting, use a file to smooth the edges of the metal trim and remove any burrs or loose metal particles.
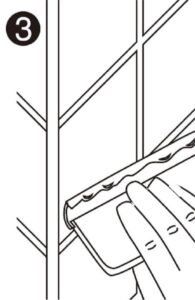
STEP 2 – FITTING THE TRIM
Prepare your adhesive following the manufacturer’s guidelines, then apply it as usual using a notched trowel.
Carefully press the tile corner trim into the adhesive, making sure the adhesive passes through the anchor holes, securing it firmly in place.
Align the tile so that it sits flush against the back of the trim, and repeat this process for the remaining tiles. Apply adhesive to the back of each tile before placing it onto the trim to ensure a strong and even bond.
For shower areas, we recommend leaving a 2mm gap between the trim and tile edges. This gap should be filled with grout to prevent water from seeping between the tile and trim.
STEP 3 – CLEAN
Once the tiles have been installed, apply grout using a grout float to finish the joints.
After the grout has fully cured, clean the tiled surface using warm water with mild soap only. Avoid using bleach or any abrasive cleaners, as these may damage the surface.
Before carrying out full cleaning, always test the cleaning method on a small, hidden area first.