
How to Install Tile Edge Trim?
Achieving a professional, long-lasting tile installation depends heavily on clean, protected edges. Tile edge trim is the key to this finish, safeguarding tiles from chips, creating smooth transitions, and elevating the overall look. This guide provides clear, step-by-step instructions for installing common types of tile trim, helping DIYers and pros alike achieve flawless results.
What You’ll Need: Tools & Materials
Gather these essentials before starting:
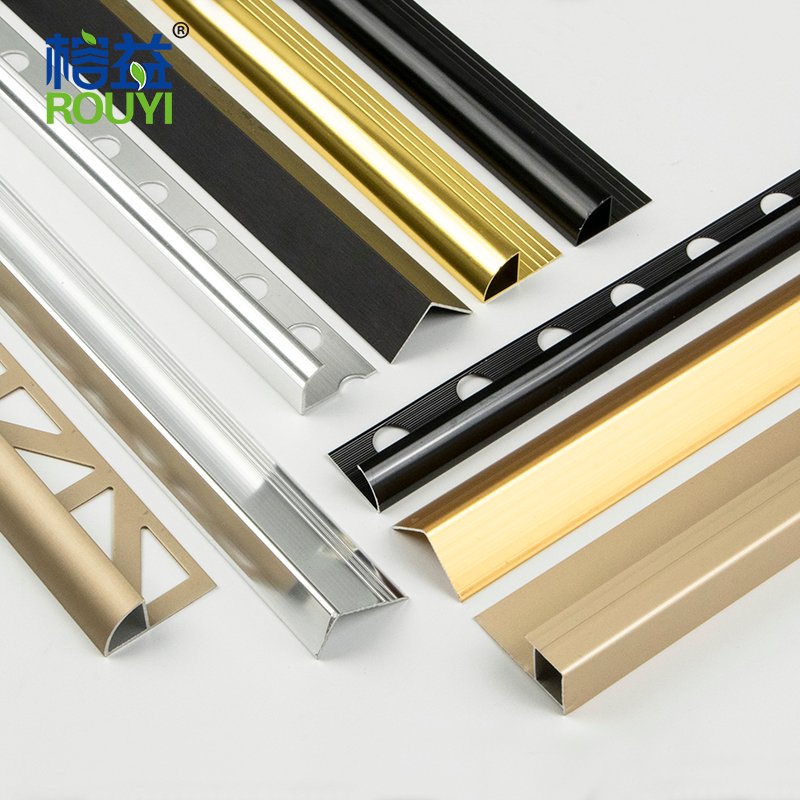
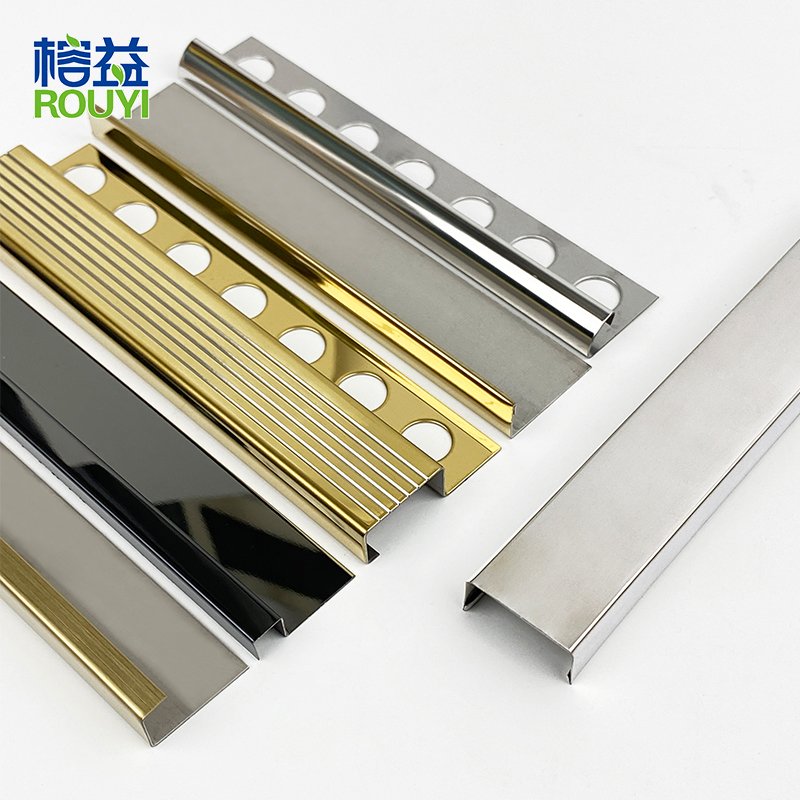
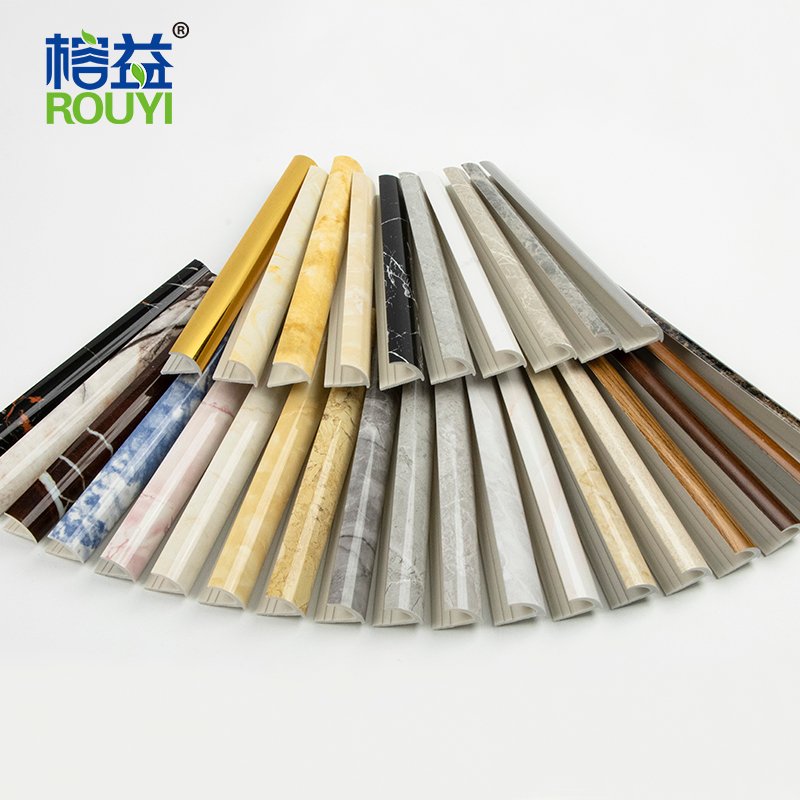
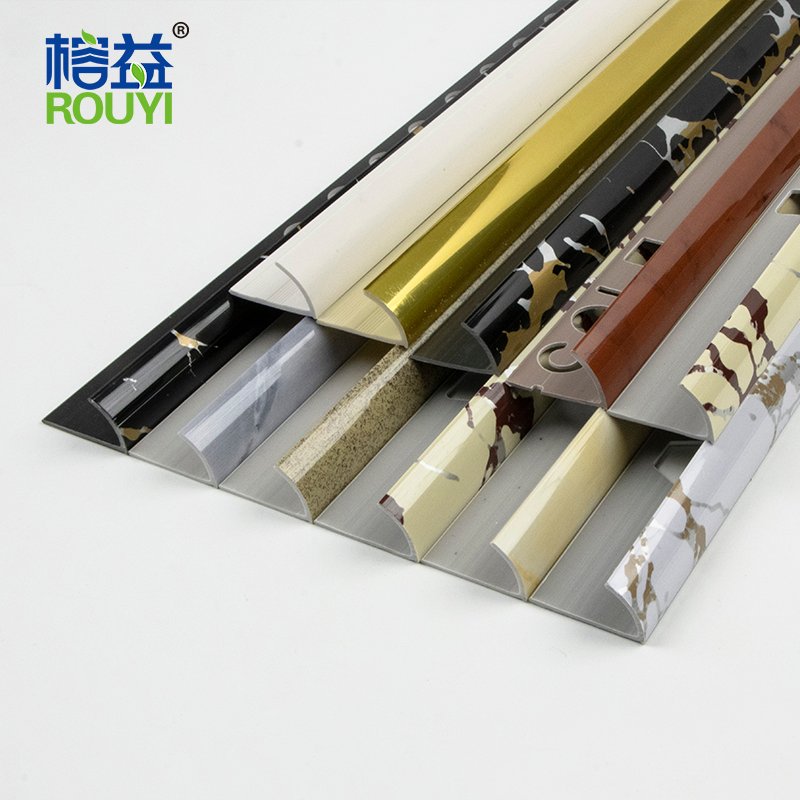
- Trim Profile: Choose from PVC (for flexibility/cost), Aluminum (lightweight/durable), or Stainless Steel (premium strength).
- Cutting Tools: A fine-tooth hacksaw or power mitre saw for metal; a utility knife or fine-tooth saw for PVC.
- Measuring & Marking: Tape measure, pencil, and a speed square or mitre box for accurate angles.
- Adhesive: A quality tile adhesive or construction-grade silicone suitable for your wall/floor and trim material.
- Finishing Tools: Notched trowel, rubber mallet, damp cloth, and optionally, tile spacers for alignment.
Step-by-Step Installation Guide
Step 1: Planning & Measurement
- Dry-Fit First: Hold the trim against the edge without adhesive to visualize the fit.
- Measure Precisely: Measure each run needing trim. For corners, mark the exact point on the trim where the angle will be cut. Pro Tip: Order 10% extra length to account for cutting errors.
Step 2: Cutting the Trim
- Straight Cuts: Secure the trim in a mitre box or clamp. For PVC, score deeply with a utility knife and snap; for metal, use a fine-tooth hacksaw.
- Cutting Corners (45° Mitres): This is crucial for clean corners.
- External corner (e.g., a wall’s outer edge), cut both joining ends at 45° so they meet to form a 90° corner.
- Internal corner (e.g., a room’s inside corner), professional installers often use a coped joint: one piece is square-cut and butted into the corner; the other is cut to the profile of the first for a perfect seam.
- Finish the Cut: Use fine-grit sandpaper to smooth any burrs or sharp edges on the cut end.
Step 3: Applying Adhesive
- Apply a consistent, thin bed of adhesive to the wall or floor edge where the trim will sit, using the notched side of the trowel to create grooves for better grip.
- Alternative Method: For some metal trims, you can apply a thin bead of adhesive directly to the back of the trim’s anchoring leg.
Step 4: Setting the Trim
- Firmly press the trim into the adhesive, ensuring the tile will later cover the anchoring leg. Use a rubber mallet to tap it gently into place for full contact.
- Check Alignment: Use a level to ensure it’s straight. Insert tile spacers between the trim and the first tile to maintain an even gap for grout.
- Work in Sections: Install trim for one area, then set the adjacent tiles before the adhesive sets to lock it in place.
Step 5: Finishing & Grouting
- Clean Excess: Immediately wipe away any squeezed-out adhesive with a damp cloth before it dries.
- Let Adhesive Cure: Allow the adhesive to fully set as per the manufacturer’s instructions (usually 24 hours).
- Grout: Apply grout as usual, working it smoothly into the gap between the tile and the face of the trim. Clean grout haze off the trim promptly.
Choosing the Right Adhesive
- Walls & Most Floors: A standard thin-set mortar is versatile and strong.
- Wet Areas (Showers): Use a waterproof modified thin-set.
- Small Areas or Delicate Tiles: A high-quality construction silicone or organic tile adhesive offers more flexibility and easier application.
Key Tips for a Professional Finish
- Consistency is Key: Ensure the adhesive layer is even so the trim doesn’t sit unevenly.
- Mind the Gap: The space between the tile and trim face is crucial for grouting. Spacers are your best friend here.
- Patience with Curing: Do not disturb or grout until the adhesive has fully cured to prevent shifting.
- For Tricky Corners: If cutting perfect mitres is challenging, consider using pre-formed corner pieces that many trim lines offer.
Share This Post
Get A Free Sample
OEM ODM Factory Wholesale Tile Trim
Contact our technical consultants today for customized solutions and samples.
*100% Privacy Guaranteed
Get a Custom Quote Today !
After you fill out the form, We will contact you within 24 hours.
The first objective will be to understand your needs, then develop a business plan together and provide you with the best pricing!
- +86 18925917775
- +86 18925917775
- +86 18925917775
- rongyi093@gmail.com
- No.183-1, Yinshi Road, Shibei DevelopmentZone, Shishan Town, Nanhai District, Foshan City,Guangdong Province, China